I made these trees 3 years ago while we were in Japan. I had forgotten about them last year and the year before that we didn't decorate. I found my original ones in a box, smushed I might add, while I was looking for autumn decor back in October. So the week before Thanksgiving I pulled my stuff out and started making some new ones.
I did notice some floating around blog land already. I also noted that Martha Stewart has the same thing on her site. To be honest I am pretty sure these have been around for years!
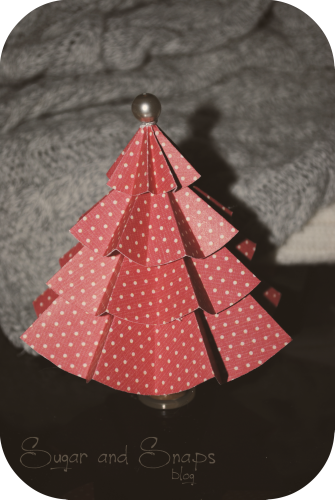
Paper Trees
Probably one of the easiest paper crafts I have ever made. You don't need much, and really pretty much all of it in some way or another you have around the house.
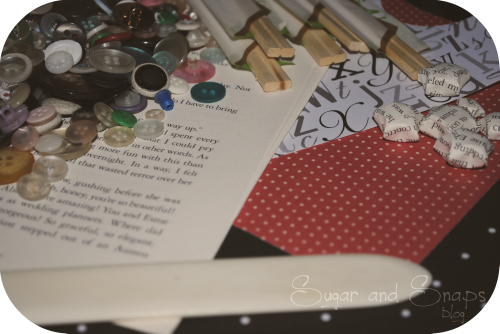
Paper (I used some printed scrap-booking paper and I made one using pages out of a book too.)
Buttons & Beads
Bone Folder
Stick (I used disposable chop sticks that we have a large amount of. You can use a dole rod or even a straw if you wanted.)
Hot Glue Gun
Circle Cutter (I used my Cricut and Design Studio)
Sissors
Start by cutting out your circles. I made 3 different sized trees with 6 different sized circles. In design studio I used a circle from one cartage and placed it 6 times on the page. 2in - 7in in Diameter. You can do the same thing with an cutter and punches, though you will have to have those sizes.
I start with the smallest circle and work my way up.
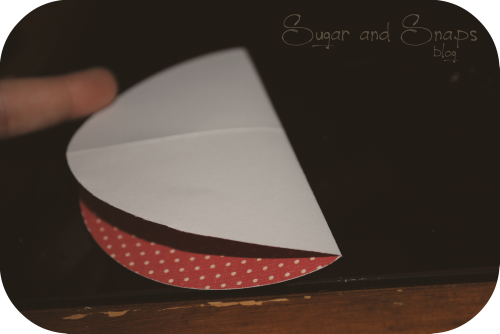
Once your circles are cut, start folding. Use your bone folder to make good folds.
- First fold the circle in half.
- Unfold and fold in half again, meeting your previous fold against itself. (pictured above)
- Fold in half again in between your last two.
At this time you should have 4 folds, 8 "pie" pieces.
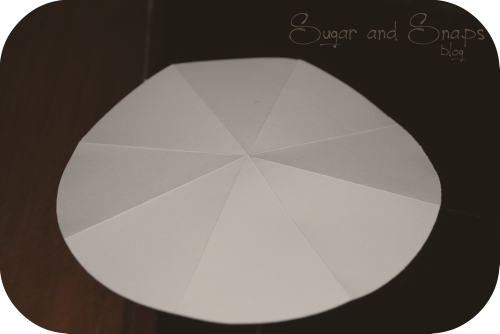
Flip your circle over and repeat the folding on this side. Your your folds need to be in between the ones from the opposite side. I lined up the sides of one pie piece. (shown above)
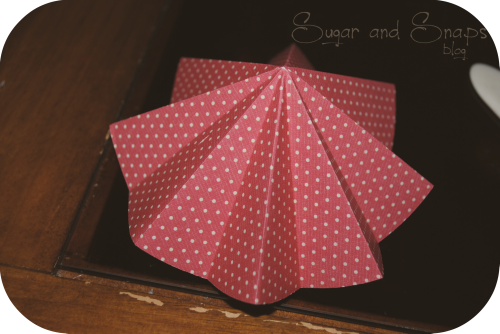
Once you have finished it should look kind of like those paper fans you made in school. I make the folds go the correct ways then continue. It should look like this.
For your smallest circle ignore this next step. It will be the top of your tree!
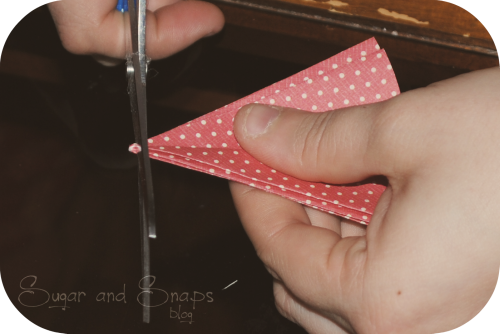
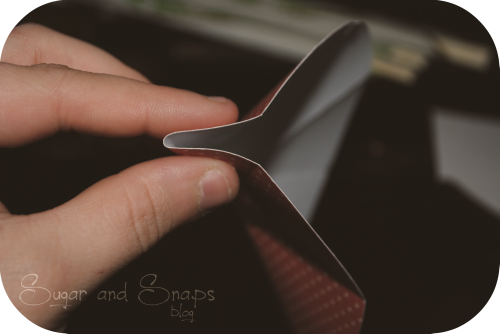
Re fold so you have 4 folds on each side and snip a little off the tip. When you unfold it should have a small hole in the top. Make sure your stick can go though, if not refold and snip a TINY bit more.
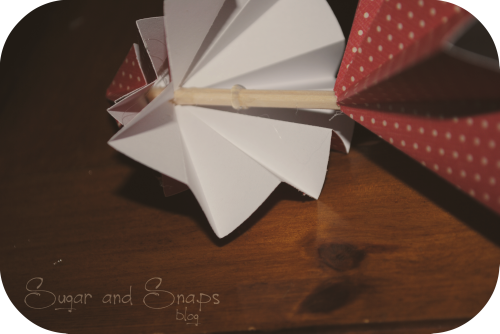
Place a dot of glue on the top of your stick and put your smallest circle on the top. Keep the tip pointed as much as you can if you don't want to add something to the top of your tree.
Keep placing glue about an inch from the last layer and slip on your holed pieces. Once finished cut off the extra stick.
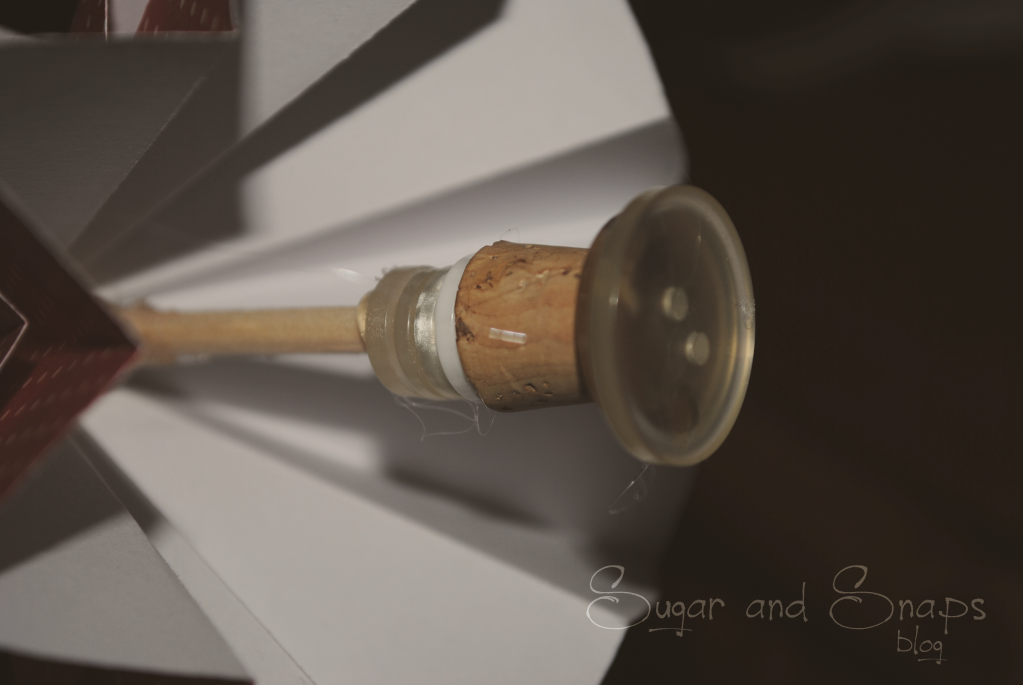
Once you cut off the extra stick you can glue on your stump. I used buttons on all mine, this one I used a small cork in there too. Make sure your bottom button is the biggest of course to keep it stable. You could also just use corks, wooden squares (circles or cylinders too), even a thread spool!

If you are adding a decoration to the top add that of course!
Fluff your trees and you are finished!
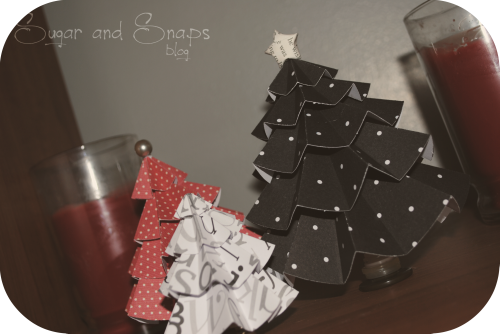
The star on the tops of the pblack tree is my next tutorial ;) stay tuned! Hope to see some awesome trees floating around!
- Brit
No comments:
Post a Comment