I have a little story before I share how I made him. :)
You see one of my best friends had these beautiful dusty frame under his stairs for a couple months. It just randomly showed up there one day. Well for me, he bought it between when I had left the night before and before I came over the next night. It was to be a gift for his girlfriend who was another one of my good friends. That whole thing didn't work out and he ended up giving it to me before we moved. Oh how I love that kid!
Haha anyway after I laid this frame in the basement of our house I stared and stared at it every time I saw it sitting there. I knew it looked familiar, and it did. You see when I finally grabbed it to do something with it I saw the back.
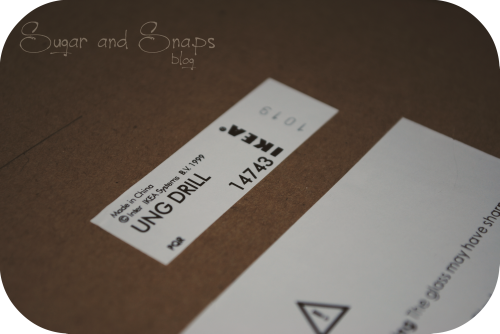
Yes that would be the $40 mirror or the $30 frame from Ikea.


{Source}
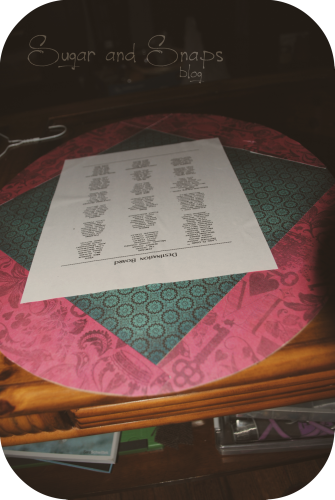
Don't know what one because it only came with the back. No glass or anything, but I am assuming the frame since it was a cardboard back. Someone made this bad guy some type of destination board. But I wanted something else for him.
So I re covered him with some paper and got started.
My friend only paid $8 for the frame from the thrift store. Lucky him and even luckier for me!
Now, for this project...
You Need
A frame (Optional)
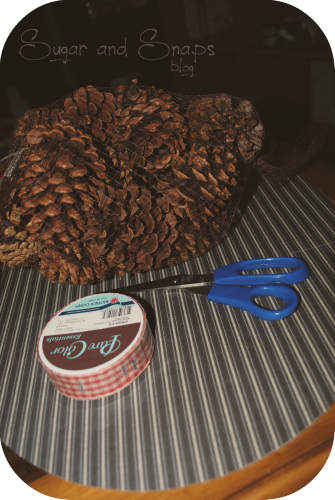
Scissors
Ribbon
Pine Cones (I bought some scented ones for cheap at Pat Catan's)
Hot Glue
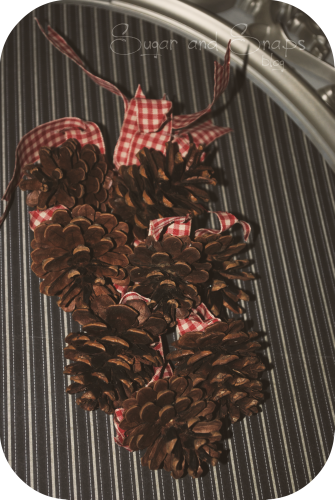
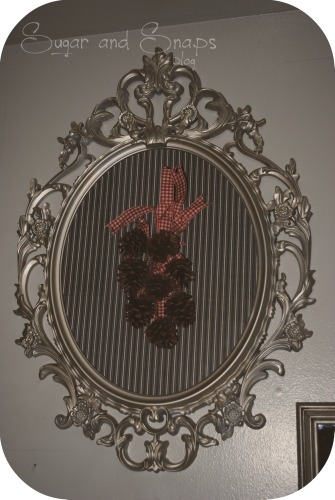
Take 6-8in strips of your ribbon and glue to the top of your pine cones.
Gather the ends and stagger them before you tie the ends together. So they fall and lay nice against where ever you hang them.
Now this one didn't turn out as well as I have made them in the past. I was going to make another and hang it on the front door but I didn't get around to it. But they can be hung anywhere and you don't need a frame.
I didn't take really any pictures because this is pretty simple. But if you want check out Whatever Deedee Wants for a easy tutorial I found to share.
Instead of hanging them right one the wall I used the covered frame back to attache them too. Even thought they were not to heavy I made it stronger then I really needed to.
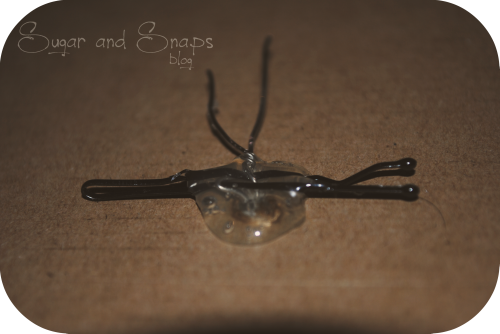
I wrapped wire though the knot and pulled it though a small hole in the card board. It tighten it up I took a bobby pin and twisted it a little to pull it in. Next just put some hot glue on it and held it till the glue was tacky.
Finished.
- Brit
No comments:
Post a Comment