I promised that would be my next tutorial, well its one of the next ones. I am going to show how to make them today. :)
These little guys I learned to make from a friend while we were living in Japan. She had been making jewelry with them. I just wanted a jar full of them, so I got to pulling out paper and my paper cutter.
Paper Stars

You Need
Paper
Paper Cutter
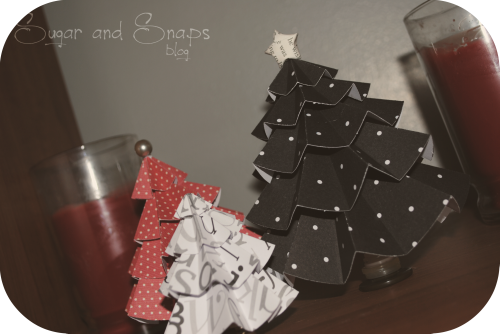
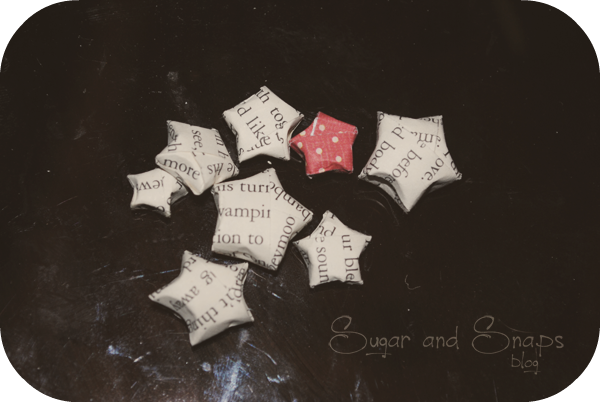
I believe people consider this origami, but these are really easy to make. I sit and make them while watching TV or a movie. I have used many different types of paper, sturdier paper works best. Construction paper will really not work at all. Scrap-booking paper is perfect, for this project I also used some book pages and sheet music. (Yes that is Breaking Dawn up there. Yes I cut it up...)
First you need to cut your paper into strips. Depending on the out come size you want will depend on the width of the paper. For a star that is about 3/4 of an inch in size, my paper was about 1/2 inch in width. The length always depends on the paper you are using. 12 inch scrap book is perfect for 1/4 - 1/2 in width, but the ones I made out of book pages I used 3 or 4 strips to make it sturdier.
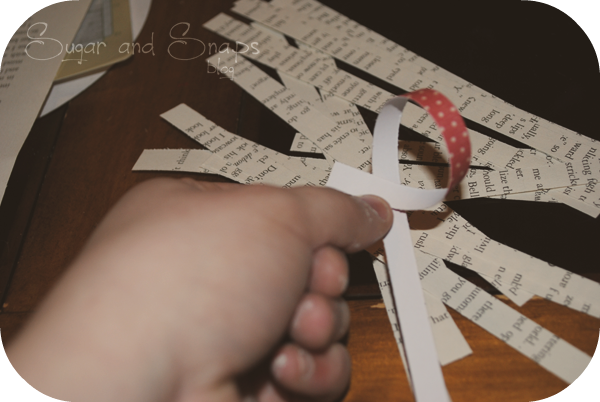
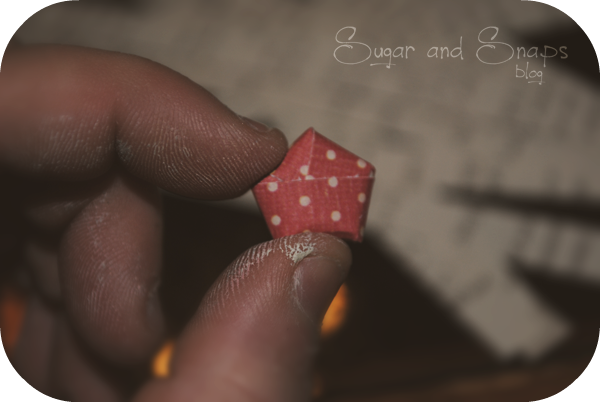
Next you start a "knot."
Excuse the paint on my hands in these photos, I was painting bells before this.
Before you make any creases you need to make sure the tail piece you see me holding is between a 1/2 inch and 3/4 inch. Just eye ball it, it doesn't have to be perfect. But you just some want a 3 inch tail back there.
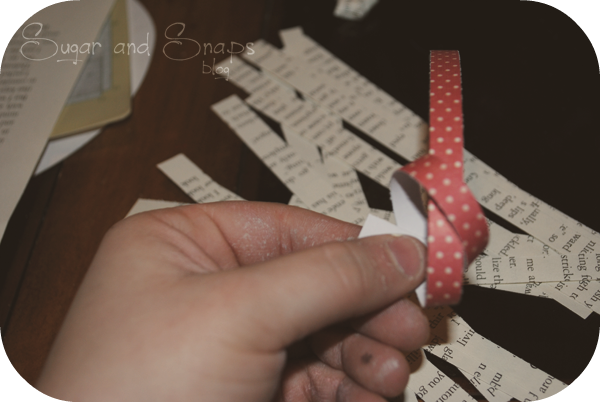
Crease your "knot" to get a pentagon shape. My tail on this star was a little long, but you can just fold it over or even cut it a little if you need. Its just a waist of paper ):

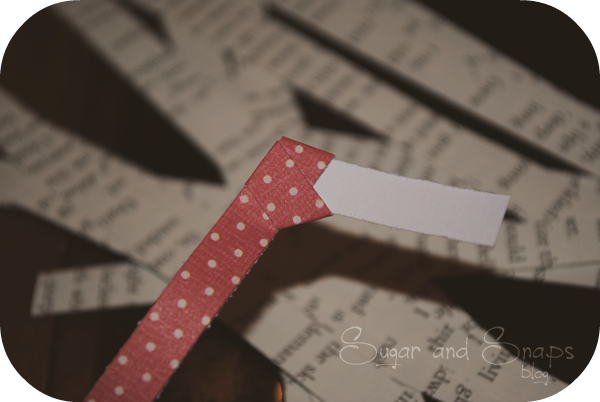
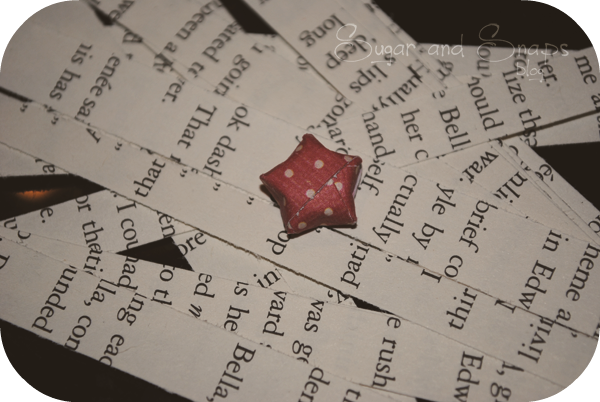
Now you will start to make your folds. Basically you will fold the longer tail over each side. It will pretty much guide itself, just keep your eye on it. Once you are down to your last little bit you will tuck it under a fold on the side it ends on. If there isn't enough to reach then fold the tail under itself and tuck it under the previous side.
If you are using a thin paper and need to ad more strips, before you tuck the end under just lay the top of another strip against it and start folding. Folding the paper over and over again will keep the paper in place. ;)
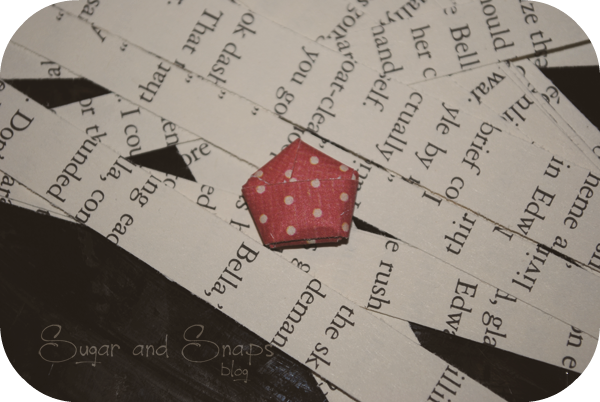
You should have this pentagon then. If your tail has a little trouble holding you can always add a little tiny bit of glue. Make sure you let it dry before the next step though.
Now like everything, not all your stars will be perfect. Some will be a little malformed but depending on what you are using them for it shouldn't matter to much.
If you need a better tutorial try this: origami-fun.com
Have fun!
~ Brit
No comments:
Post a Comment